My First Window Manager
I go through phases. Sometimes I like to play video games in my spare time. Sometimes I like to watch movies or TV shows. And sometimes I have a project I’m working on that takes a lot of time (be it a coding challenge, a new iteration of my website, a game I’m developing , etc.). Recently I was between phases. I needed something new and exciting to work on. I thought about reformatting my computer to change up my Linux distro. I’ve done this a few times before. Mainly I’m a Linux Mint (Cinnamon) user, but I’ve also used Manjaro (KDE) and experimented with Fedora, Budgie and Elementary.
Window Managers
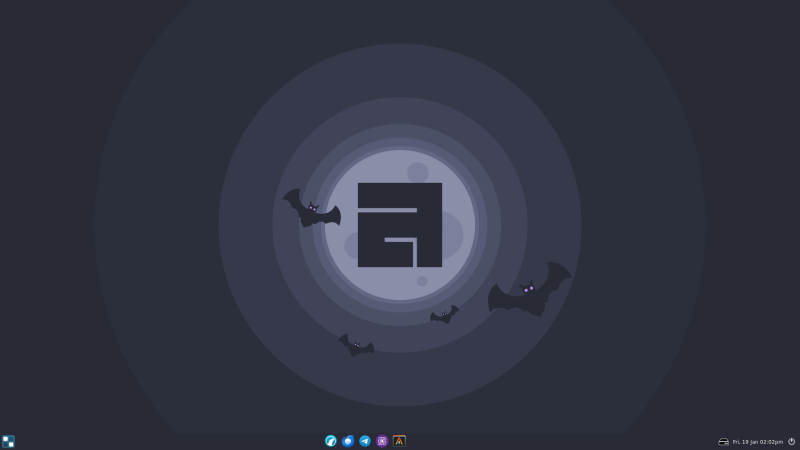
Then I started thinking about window managers. I’ve seen a bunch of videos and screenshots where people use them instead of a traditional desktop environment. They seem very ‘geeky’ (which appeals to me), but also very keyboard-focused (which does not appeal to me). But I started looking into them nevertheless. After researching and comparing a few different ones, I decided to give Awesome a try. It lets you use a mouse out-of-the-box, and is very customisable/extendable. Good thing too, ‘cause it’s ugly! I do not like the default wallpaper, and I don’t plan on using tags/workspaces. So all those numbered buttons along the top of the screen are unnecessary for me.
The way I’ve decided to use Awesome is mostly the same that I used Linux Mint. I just have one tag/workspace that holds all my windows. Most open maximised, with dialog windows set to float. So no tiling. No titlebars on maximised windows either. I have a single panel (wibar) along the bottom of the screen that holds (from left to right):
- App menu - this is a custom menu I made to hold my favourite/pinned apps. I couldn’t work out how to have them integrated with my open apps (tasklist), so I just stuck them in a menu off to the left.
- Open apps (tasklist) - I customised this to only show the app icon and a coloured bar underneath the currently-focused app.
- Status bar - I only have one icon here (my backup program). I don’t need a wifi/network icon, battery indicator, system stat graphs, etc. I like minimalism.
- Clock/calendar
- Power menu - a custom menu that lets me logout, restart or shutdown.
I also needed to decide what Linux distro to install all this on… For this decision I looked into which distros allowed you to choose not to install a desktop environment (as I didn’t want to have to remove one in order to install Awesome). I decided against Arch (that’s just too geeky for me), but discovered OpenSUSE and Debian instead. I started playing with OpenSUSE (in a virtual machine) as it’s not one I’ve ever used before. The Tumbleweed version appealed to me - being more up-to-date, etc. But after trying multiple installs I decided against it (on reflection, I think it was the packages and dependencies I had trouble with - trying to get a minimal install with as much of what I needed as possible, and as little of what I didn’t).
Debian
So then I tried Debian. I initially went with the Testing version, as it’s similar to Tumbleweed’s rolling release-style, however I keep seeing references online to Testing’s lack of security updates, and that eventually put me off. So I installed Stable instead.
I really like Debian’s ’netinst’. It lets me configure everything myself, including choosing not to install a desktop environment. That boots me into a command line where I can then manually install the software I need/want. While I’d kinda prefer getting new software/updates when they’re released, I also don’t mind the stability that Debian Stable provides. I can always use Flatpaks for software I need to be more up-to-date.
Since installing Debian, I’ve found myself using https://www.debian.org/distrib/packages all the time! Because I’m running a minimal install with just the software I need/want, I like to lookup packages to see their dependencies before I install something, and to search for what packages are available in Debian’s repos.
Software
Speaking of packages, here’s a list of some of the notable software I’ve installed in addition to Awesome:
- Alacritty
- I’ve heard good things about this terminal, and I’m liking it so far. The only thing I miss is tabs (which it doesn’t/won’t support), but I was able to setup a keybinding to open a new instance which works just as well.
- alttab
- By default, Alt-Tab in Awesome just switches back and forth between the two most recently-focused windows. There are some third-party Alt-Tab modules for Awesome, and I tried them, but ultimately I found this generic package best. It’s somewhat customisable (using command-line arguments) and works well (so long as you only run it after Awesome finishes loading).
- brightnessctl
- This allows me to easily control the brightness of my screen with keybindings.
- Firefox
- This is my secondary web browser that I have kept mostly un-customised. I have it as a backup in case certain websites don’t work in my locked-down, privacy-focused primary browser (see below).
- Flameshot
- This is (IMO) the best FOSS screenshot/annotation software around! I have keybindings setup to take a screenshot of the entire screen, or a specific area I select. I can then add arrows, text, blur parts of the image, etc.
- i3lock-color
- This lockscreen is very customisable. I initially tried the original
i3lock, but ended up going for this fork instead just for the sheer amount of customisation I could do. - libreoffice-gtk3
- The GTK plugin for LibreOffice . Mentioning this here as LibreOffice looked ugly until I installed this. Now it’s much nicer!
- LibreWolf
- My primary web browser. It’s a privacy and security-hardened version of Firefox that I’ve supplemented with extensions like NoScript and LibRedirect (uBlock Origin is already included by default!)
- Ly
- Ly is a (very) minimal display manager (a.k.a. login screen). I like it because it’s simple and geeky. Not very customisable unfortunately, but I guess that’s one of it’s features - minimalism.
- numlockx
- Enables Num Lock automatically.
- playerctl
- This lets me assign keybindings to easily control media playback.
- Pulsar
- My text editor/IDE of choice. A community-led fork of GitHub’s Atom editor.
- Redshift
- A simple app that tints the screen red during certain hours to minimise blue light.
- Rofi
- Though Rofi can be used in many different ways, I personally use it just as an application launcher - instead of having a menu that lists all apps, settings, etc. I’ve mapped it to my ‘Super’ key, so it functions like the menu I was used to in Linux Mint.
- sxhkd
- Weird name, cool program. This is how I map various keys/combinations to run commands or launch apps. I chose this over Awesome’s keybindings as I prefer this syntax more, and I like that it’s window manager-agnostic.
- Thunderbird
- I love Thunderbird! I don’t like using webmail interfaces if I can help it, and I find Thunderbird’s UI to be really nice and customisable, especially after their recent ‘Supernova’ update.
- Vorta
- My encrypted, deduplicated, FOSS backup solution.
- xautolock
- A program that runs a screen locker after a certain period of inactivity. Read about how I’m using it in my previous blog post .
- xclip
- I use this to automatically clear my clipboard. See the link under ‘xautolock’ above.
- xinput
- This lets me configure my mouse and touchpad (e.g. enabling middle-click emulation).
Miscellaneous
Here are some other random thoughts/facts about my new setup:
- I’m using the Dracula colour theme for all my programs. It’s a bit of work to find and install the theme for each one, but also fun. I’m not sure how long I’ll stick with it, as there are some issues with some of the colours this theme uses (particularly highlighting), so maybe in future I’ll find another dark theme to use instead.
- I love that because I haven’t installed the
xdg-user-dirspackage, I don’t have all those default folders in my home directory (I didn’t use half of them anyway). Now I can just create the ones I actually need. - The fact that I started with a minimal install and have manually installed
just the programs I need means I have less bloat. For example, I used to use
gdebifor installing DEB files. But I don’t actually need it. So I just useapt install ./my-deb-file.debinstead.